搭建日志监控服务 Sentry
不写BUG的码农不是好码农!
Sentry官方提供了两种搭建方式(Python/Docker),这里我们使用docker进行搭建。
前情提要
如果机器上没有 git, docker以及 docker-compose, 先进行安装,本文以 ubuntu16.04为例
1 | apt-get install docker.io git |
如果本地有python环境,推荐使用pip进行安装docker-compose
1 | pip install docker-compose |
当然也可以使用
apt-get,不过下载的版本可能不对,导致docker与docker-compose.yml中的版本不匹配
docker 与 docker-compose版本关系
服务搭建
Sentry提供了docker搭建的docker-compose.yml以及对应的Dockerfile,首先拉取官方提供的docker文件。
1 | git clone https://github.com/getsentry/onpremise.git |
剩余的操作如同README.md中的步骤一致
进入目录
cd onpremise创建对应的
volumn文件夹,用户存放数据
1 | docker volume create --name=sentry-data && docker volume create --name=sentry-postgres |
- 创建环境变量配置文件
1 | cp -n .env.example .env |
- 构建docker镜像
1 | docker-compose build |
- 生成secret key,将其添加到配置文件
.env中 (生成的secret key 会在最后一行)
1 | docker-compose run --rm web config generate-secret-key |
- 更新配置,其中会进行
database migrate,最后会提示创建一个登录账号
1 | docker-compose run --rm web upgrade |
- 最后执行命令, 后台运行
sentry server
1 | docker-compose up -d |
接着我们浏览器访问 localhost:9000 或者 server ip:9000,访问至登录页面即成功。
邮件配置
Sentry中提供了邮件邀请用户,从而进行团队协作,不过需要稍加配置
vim config.yml, 可以看到有如下配置
1 | ############### |
根据自己的需求,更改配置,这里以qq邮箱为例:
1 | mail.backend: 'smtp' |
sentry 只支持tls而不是ssh,所以需要port不是465
完成后,重启服务即可
1 | docker-compose down # 关闭相关docker container |
服务部署
这里简单讲下通过Nginx 绑定域名,部署sentry服务,并使用certbot 使服务支持https
- 查看本地有无nginx以及cerbot,如果没有先安装
1 | # nginx |
- 新建Nginx配置文件
1 | vim /etc/nginx/conf.d/sentry.conf |
配置如下:
1 | server{ |
- 支持服务至
Https
1 | certbot --nginx |
过程中会有两次选项,第一个会让选择升级的域名,也就是更改相应的Nginx配置文件,第二次则
再次打开Nginx配置文件,发现加了许多配置
certbot的方便之处,免费签发证书,一键支持https
1 | server{ |
- 设置定时任务,定时更新HTTPS证书
1 | vim /etc/crontab |
service nginx restart, 重启服务
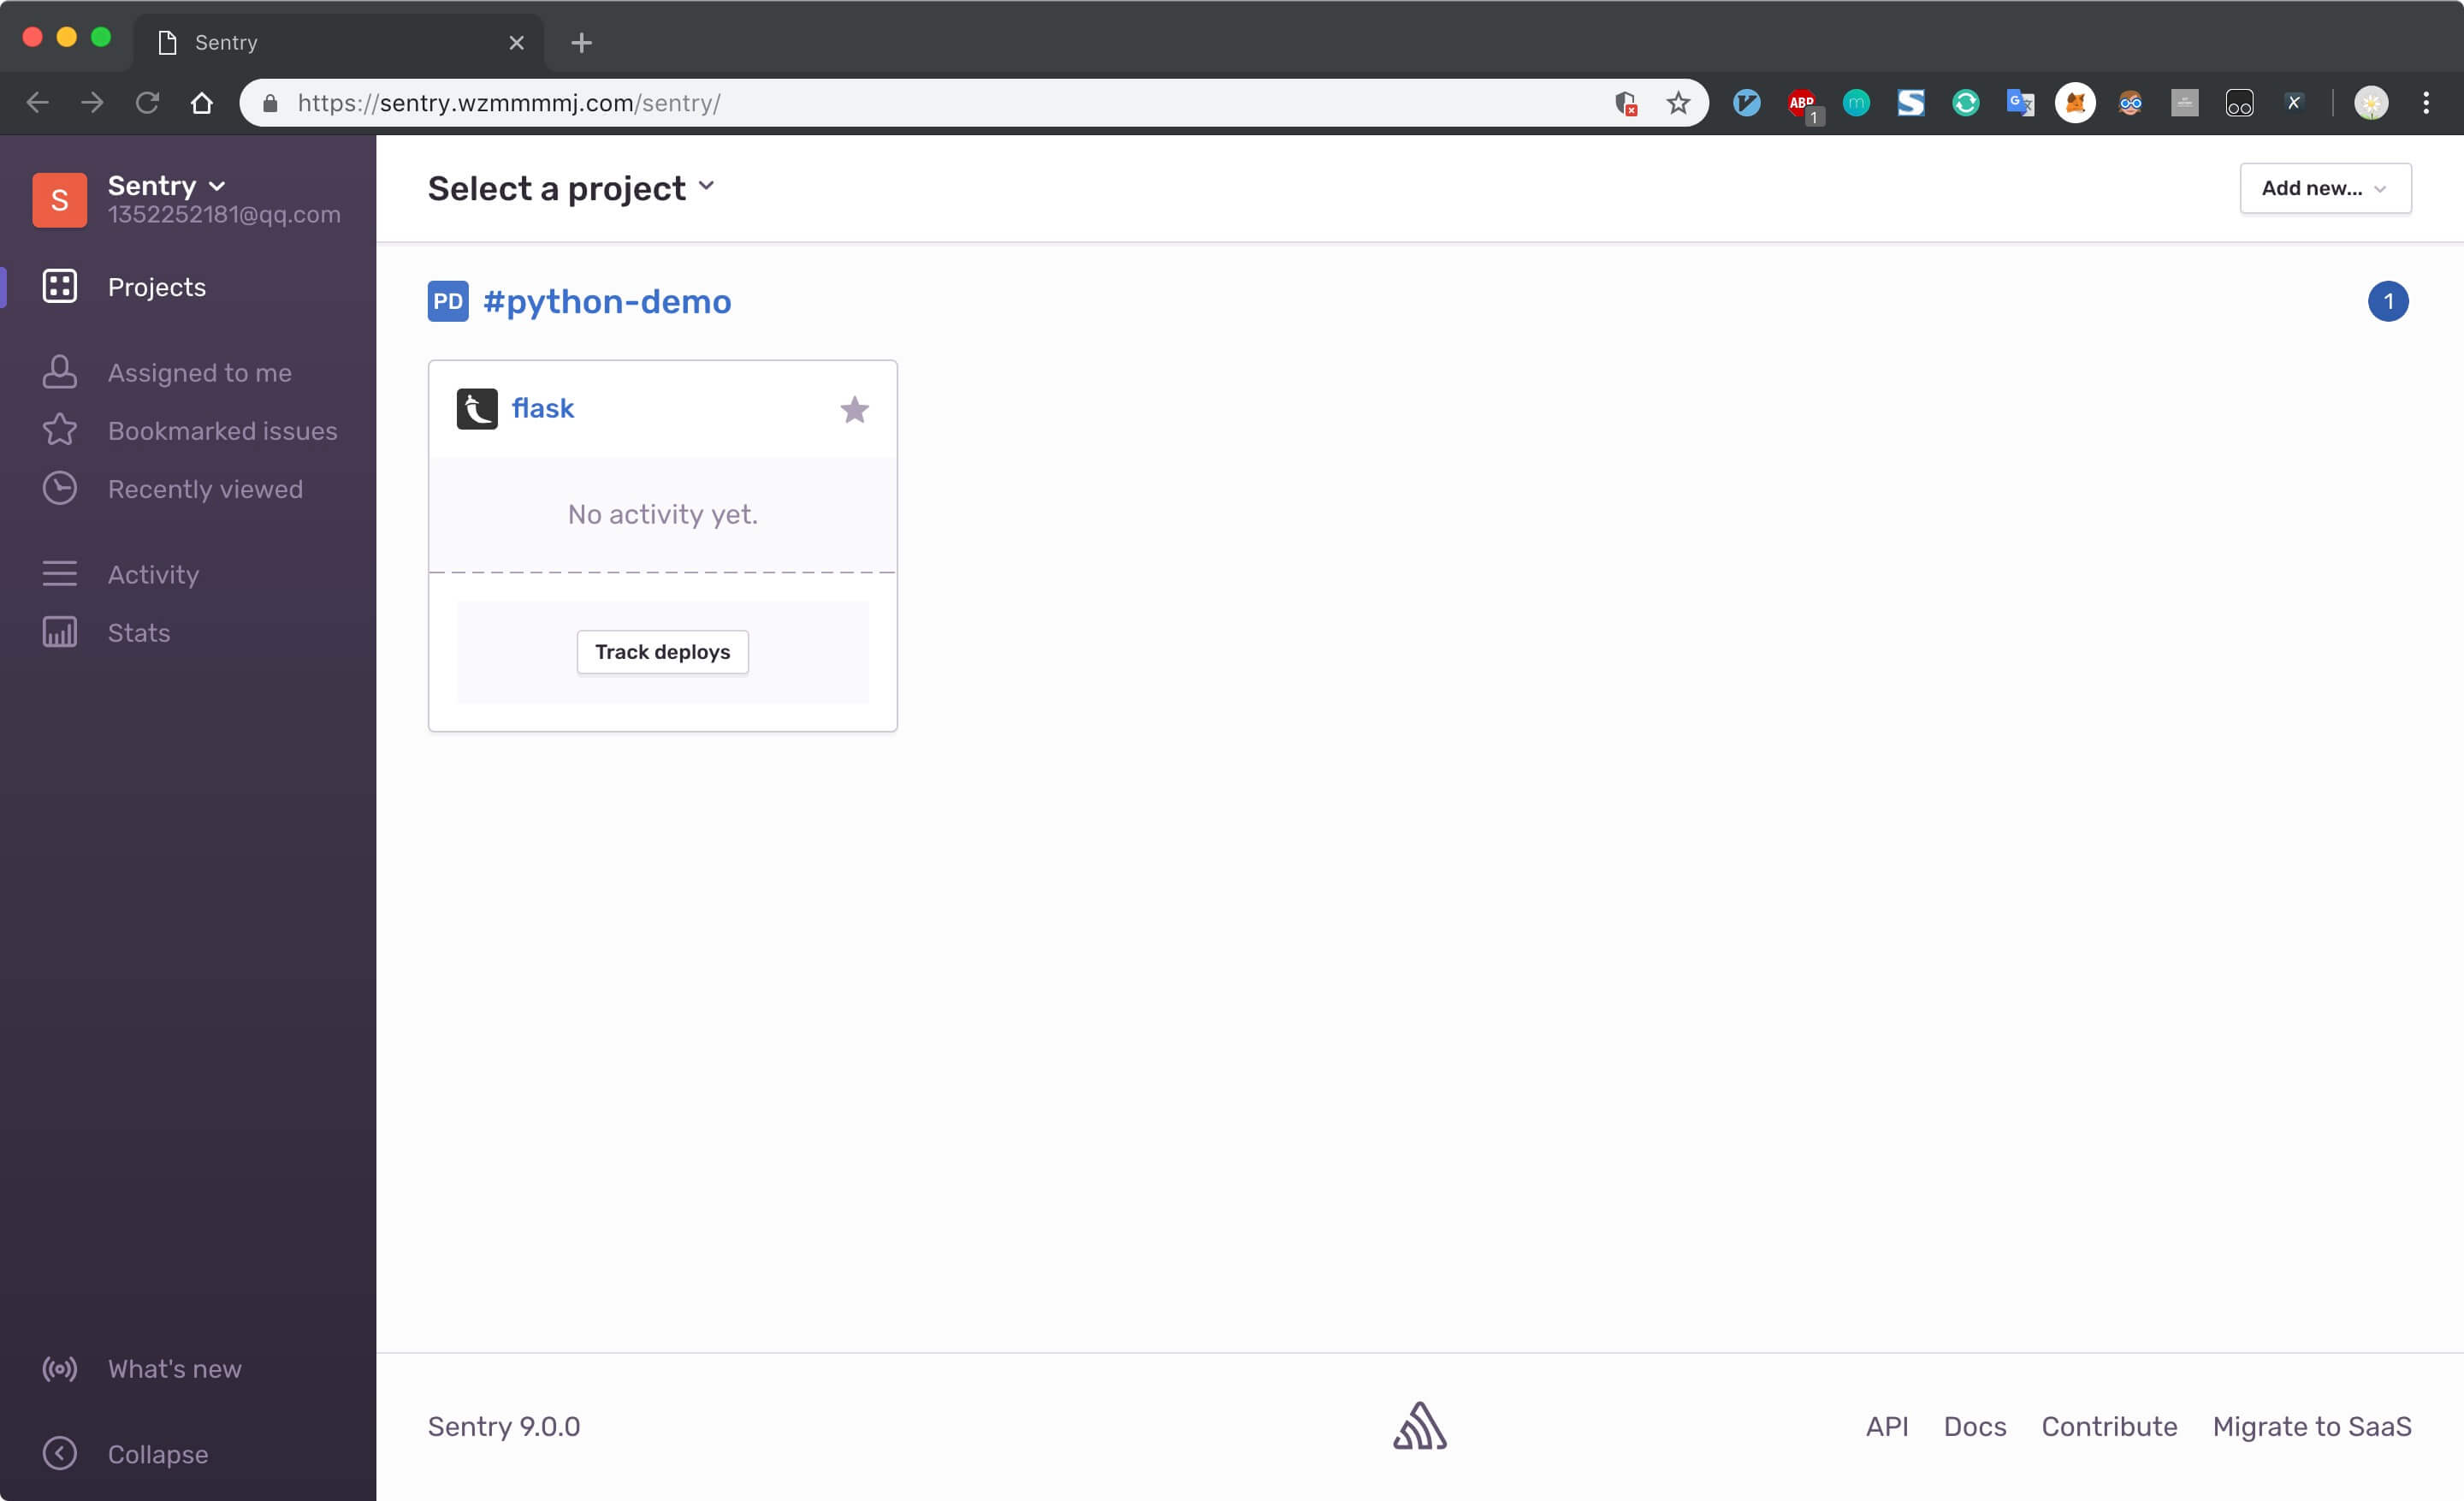
访问域名,成功登陆后,到此Sentry服务的搭建完成。

Sentry还支持一些插件,可以根据需要进行配置,例如jira ….
不过如果是个人或少数人,懒得折腾,更适合使用sentry官方提供的服务 sentry.io, 只需要注册即可使用。
参考文档:sentry官方文档 ,onpremise项目地址